July 22, 2016
Mainly preparation to decking is going on. for this I need to install the ventilation trunk, with all the blocks inside of that; also insulation on sides forward to bulkhead one. for the rest of the insulation pieces I have made templates and will install those later.
The ventilation trunk components are prepared and epoxied, waiting, ready to be installed; leaving the SB side of it open for the time being.

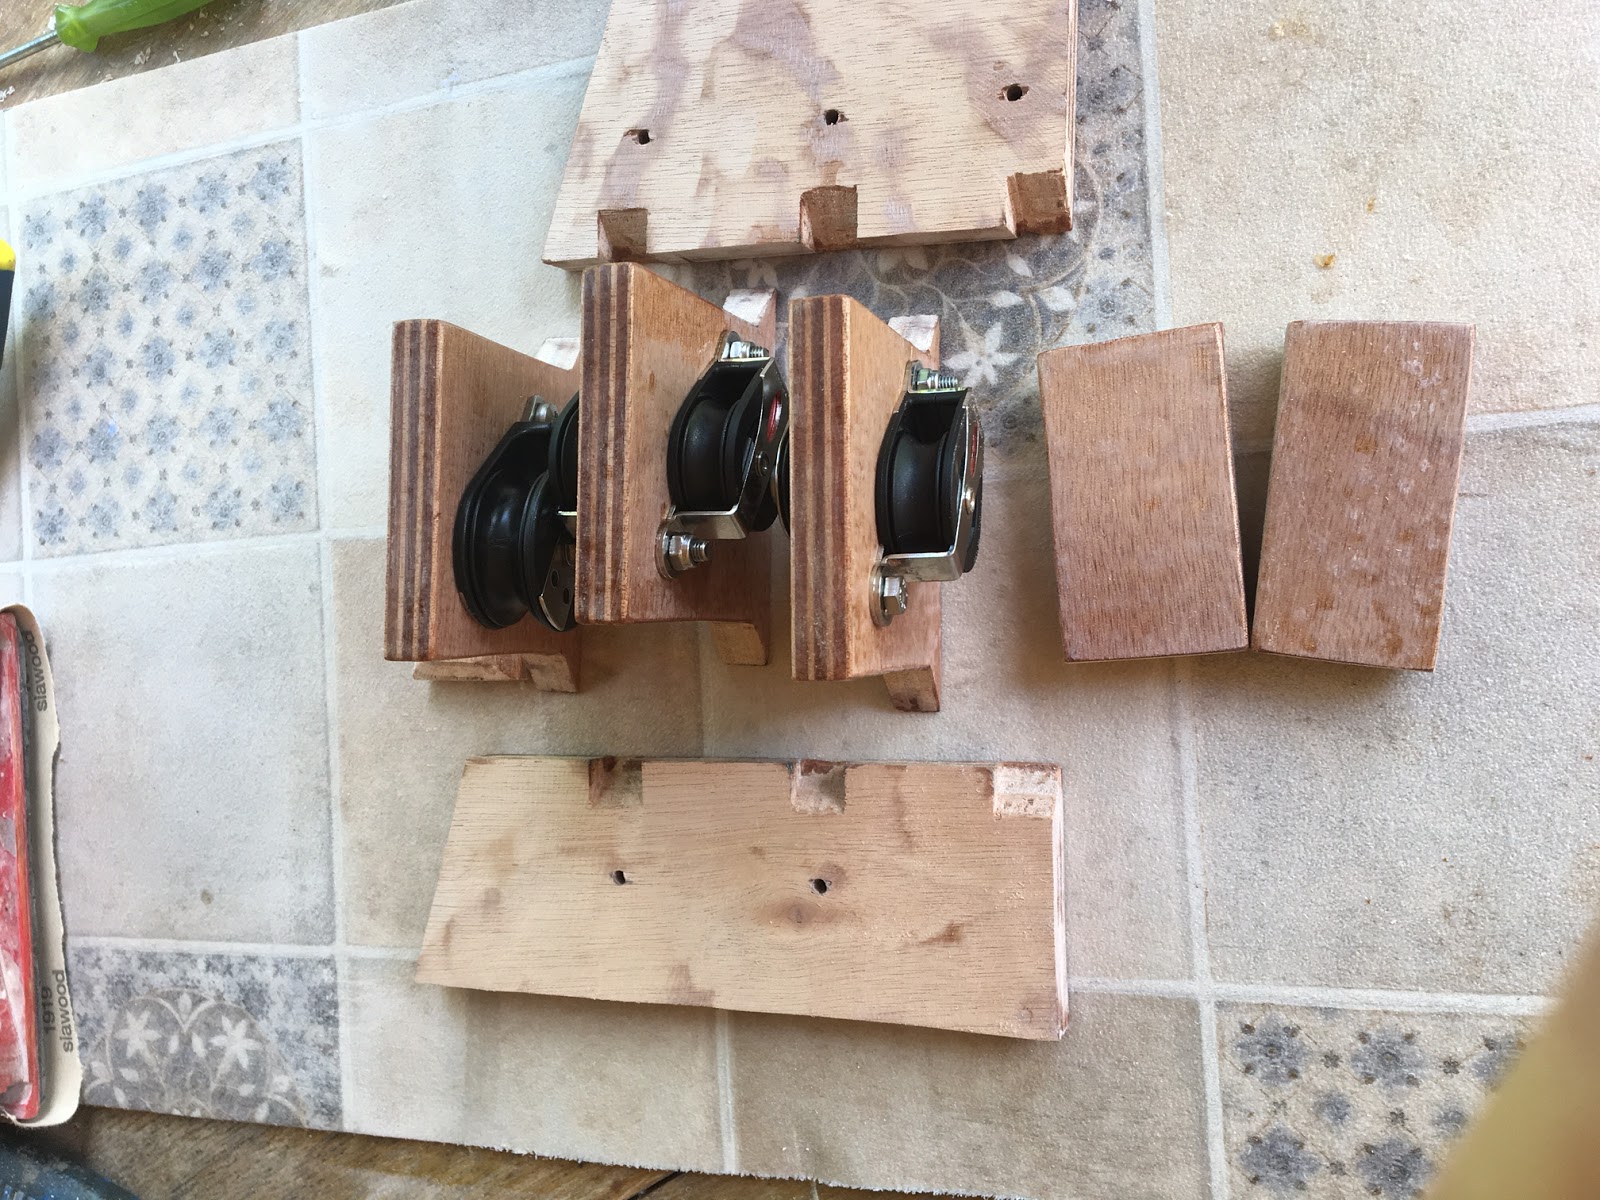
The blocks inside the trunk are now installed. As the rig is different, there is also more blocks involved.
Before and after assembling:

For insulation XPS foam is used. Made a test to epoxy some light fabric on the surface, to protect the foam from easy damaging

panels for the deck are also prepared, waiting for epoxying weather...


July 24, 2016
The ventilation trunk is now installed, including some inner framing for deck support and fixing

July 25, 2016
Major landmark - the deck is on! Weather forcast says it is going to be rainy, so took advantage of the nice, worm but mostly cloudy day and did the job outside; no need to mess with covering garage floor...


July 31, 2016
Rudder head and rudder blade are now glassed. Used an old trick again, wrapping them in wrapping film to keep the glass tight where folded. Used a bicycle inner tube to keep the glass down in track for lift line. Still some bubbles though...


For the rudder head there is yet to make a boarding step, then fairing begins...
Deck is also glassed, can continue with building cabin trunk now

August 12, 2016
cabin trunk has now been assembled, loosely on the deck, then removed for glassing and hull fairing. Again, came out a bit different than on plans


Rudder blade and rudder head are coming to get in shape on one side...


At the same time with fairing the hull, I try to work on cabin trunk. Glassing... fairing... So when ready to rising mast, the cabin trunk would be ready enough to be put on and stay outside...
August 28, 2016
It has been busy time, so there has been no time for updating...
By now, the hull is faired, The boat is moved outside for some time. Last week we had a holiday, so new flagpole was raised

Also the cabin trunk got glassed

Now wait a minute... On the closer look the flagpole appears to be a raised mast!

So, the mast was up, in order to cast mast step and install partners


By now rudder is also installed.

Lower gudgeon was cast from thickened epoxy with som glass cloth, upper pintles and gudgeon were bought from marine supply store. As they came a set of 2, and the rudder is quite heavy, I decided to mount them both. As the pintle center line is not parallel with the transom, I cast a tapered underplate for the pintles, from thickened epoxy.

Initially I planned to install a stainless steel fairlead in the bow, for anchor line, but eventually I decided to go for a built-in fairlead, as many other paradox builders have done before, which looks very cool. I chose not to use the conventional method of laying fiberglass on a plastic pipe; instead I layed layers of fiberglass around a round wooden bar, which I had taped with packaging tape to avoid epoxy sticking to it. Then I cut roughly off the excess and drilled the wood through so that there was not much left and I got the wood out.


Then made recess in bow and glued it on, temporarily holding it on place with screws. Now all there is, is final shaping and some outside fairing.

At the same time I have made sliders for hatch

Next will be to install the cabin trunk, make tiller, hatch, paint job...
Sept 14, 2016. End of this session.
Duty has called and doesn't let to continue with the build. One has to make some living from time to time. I had great hopes to be able to launch this year, but it didn't work out...
I got to nearly finish the outside of the boat. Installed the collars to the deck; one on the ventilation intake, another on top of the mast partners

There are also toe rails laying on the deck here. These will be installed after painting though. I thought a lot on how I am going to bend them, but mother nature has done half of it for me.
Opening for the rudder tiller has been cut, the tiller is laminated and the fit is checked. Next to tiller opening there is a hole with pipe from the bilge pump. The cabin trunk is installed to it's position.

I started with the paint job, but one of the last nights I had was windy and the improvised tent partly collapsed; so I didn't take the risk with top coat, also considering that quite a few bugs found the fresh paint to be an ideal landing place. So the hull is primered, and the boat is resting in the garage, waiting for the next session

If everything goes well, I will get to do something at around christmas time; like cutting out cabin sole panels, work on the hatch and some small details...
Finishing the hull and hoisting sail
I see that you've put a drain in the bottom of the vent box, but the mast is forward of bulkhead 2.
ReplyDeleteWhat will happen to water that runs down the mast? Are you hoping that the mast boot will stop that happening?
Hi John,
ReplyDeleteYes, that is the intention. The mast is a bit taller and the mast step sits lower, so I couldn't have drain there. I intend to make the mast boot watertight. Otherwise the water would end up in the bilge.