The first cut was made July 22nd 2015
Aug. 25th 2015
So far I have purchased plywood and wood for the hull, except for the cabin. By today the plywood is cut, including rudder and rudder head; the sides are scarphed, bulkheads prepared and the boat has gone 3D.


 Scarphing
the sides; and sides ready to be assembled. I lofted the sides starting
from front end on one plywood sheet, and from the stern on another
sheet. As it is a longer version - the normal 2 sheet length was not
sufficient, a piece was added in the middle. I fixed the front part and
the aft part to another sheet of plywood, aligning the center line well,
then suited in the center part; and jointed all together. The second
one I made on top of the first. For scarphing, the best worked for me
doing rough shape by block plane, then cleaning up by router, and
finally sanding smooth by orbital sander.
Scarphing
the sides; and sides ready to be assembled. I lofted the sides starting
from front end on one plywood sheet, and from the stern on another
sheet. As it is a longer version - the normal 2 sheet length was not
sufficient, a piece was added in the middle. I fixed the front part and
the aft part to another sheet of plywood, aligning the center line well,
then suited in the center part; and jointed all together. The second
one I made on top of the first. For scarphing, the best worked for me
doing rough shape by block plane, then cleaning up by router, and
finally sanding smooth by orbital sander.Then all the shape of one side was sanded smooth; another was placed on top of that and milled to same shape and size by hand router and a bit with bearing.
The bow piece was cut out by handheld circular saw (the same as all the plywood and also all the wood); just setting the angle and cutting freehand. Then glued together and sides plained. The angle at lower portion appeared to be different and was corrected later.


A major landmark - going 3D.

It's best to do with helping hand, but dry fit I managed to do alone. I clamped a piece of wood to the bulkhead, at height that it would rest on the sides.


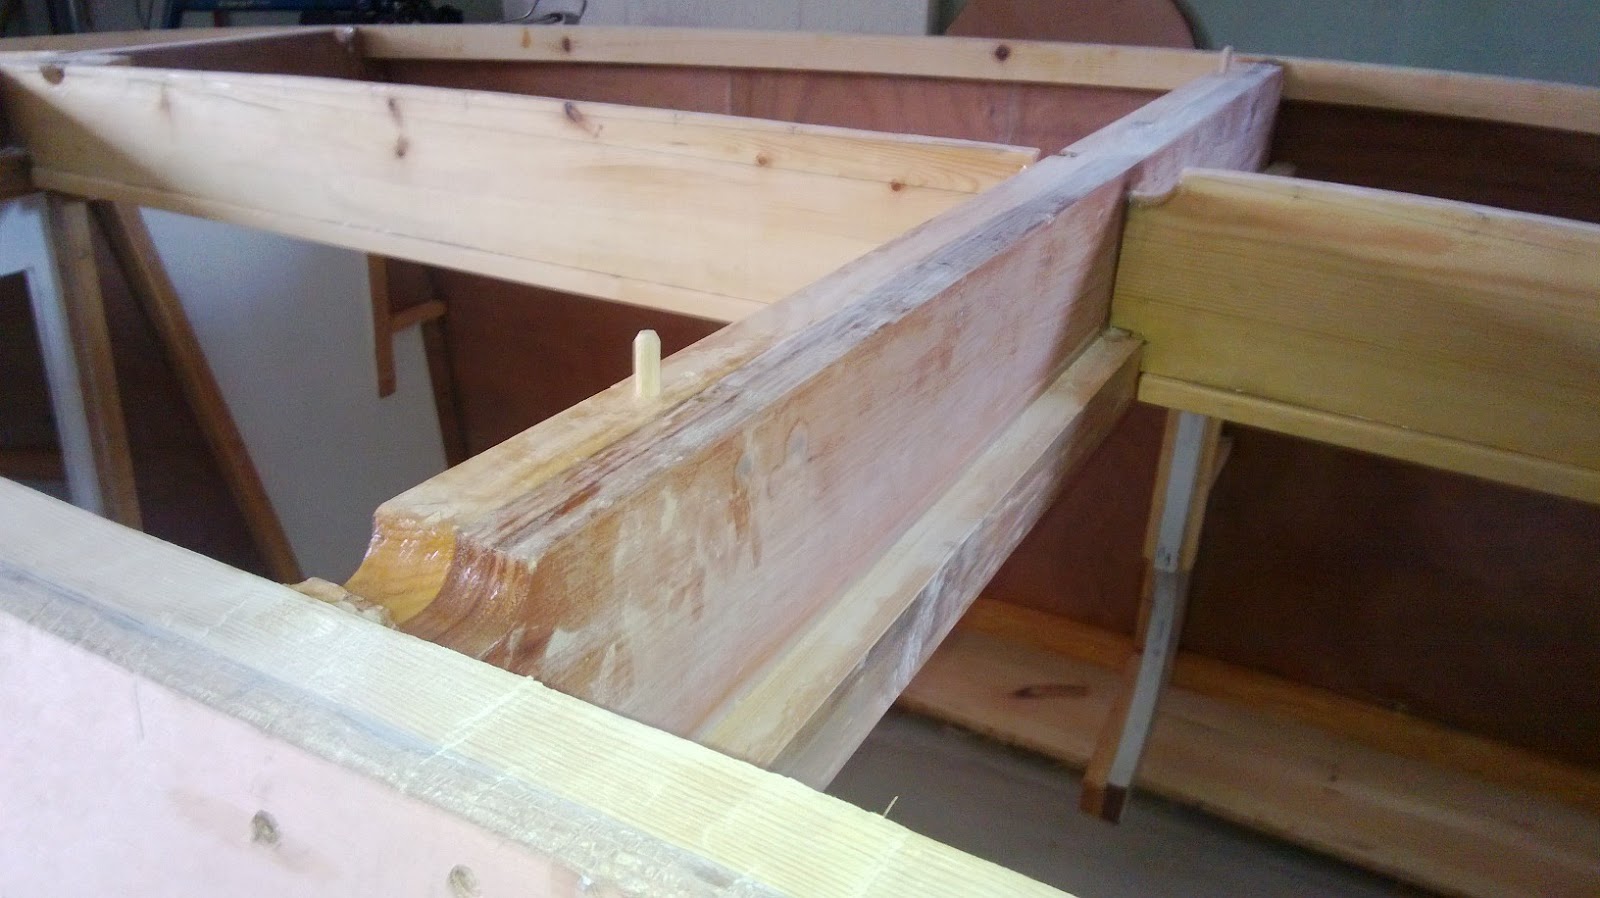
The frame logs and chine logs are installed; the hull is turned around, now preparing chine logs for assembling the bottom. And some bottom dividers yet to be added,


Aug 29th 2015
Today she has got herself a bottom.
For preparing to install it, I used an aluminium bar, to check that the chine logs are level to each other and bulkheads. Checked throughout the length and corrected using block plane, and sanded a bit later with sanding block.


When the bottom was dry fitted, I drilled holes for dowels, through the bottom plywood to bulkhead #3, in order to easily catch the right position when installing permanently


Here the result

Sept. 7th 2015
The bottom and sides are now glassed, except top sides of chine runners. It was too much for 1 day with 2 people; wouldn't do it again. I covered the glassing with peel ply, to get smoother finish, avoid sanding after glassing and hopefully reduce fairing.

At the same time looking at some other things... Working on mast; and here mold for lower gudgeon

Sept. 13th 2015
now fairing the bottom, then covering it with copper powder/epoxy mix for antifouling

Oct. 3rd 2015
Not much visible progress on hull, which is now turned upright. Glassed the inside bottom, carlins are fitted, now filleting all voids, making shelves, place for battery, preparing to paint inside...

Oct. 18th 2015
Temperatures have dropped, so it is not possible to work with epoxy now, so the progress will be slower for a while...
In the meanwhile the lower gudgeon has been cast. There is an overdrilled coupling nut cast into it. Some trimming on top side yet to be done...

Rudder stock and rudder blade have been laminated... One of the conjoined layers was sanded to shape before laminating, rest will be trimmed by that, after lamination by router.

May 29th 2016
Current status:
The sides are pained from inside, ready for preparing insulation.

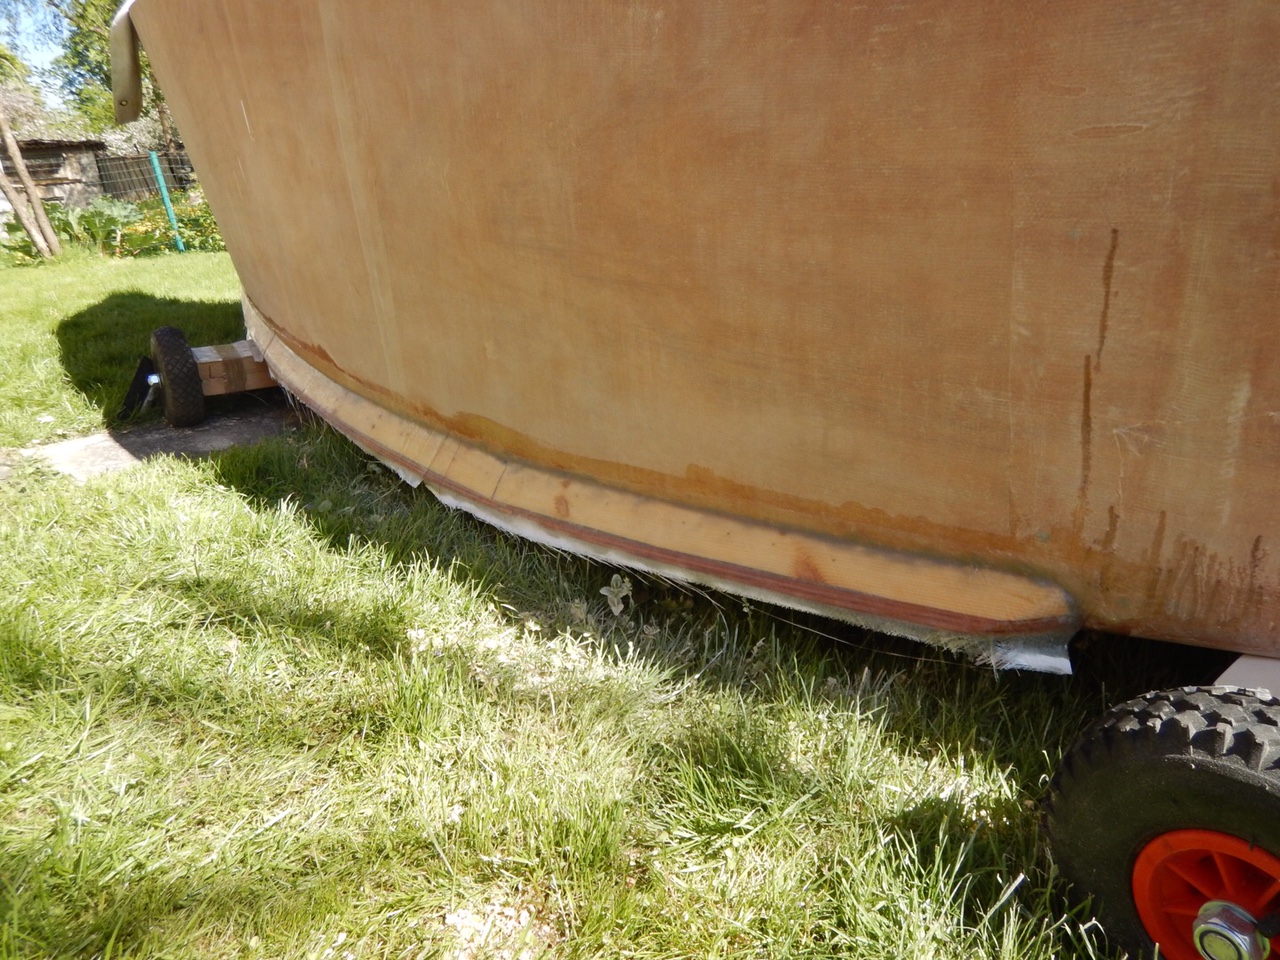
The chinerunners are now shaped and glassed
Rudder is shaped and lead cast to it


And here equipment used for that

At the same time also mast is faired and primered

Mast and sail
Thank you for posting your build of the Paradox. Great pictures and explanations of each step of the process.
ReplyDeleteI have just received my plans and building manual for "Paradox". I am interested in "growing" the boat by 20% and powering with a Junk rig also.
ReplyDeleteI am curious as to how you "grew" the plans. Was it a line by line effort?
Thanks, Tim, Spring, TX
I am wondering the same thing.
DeleteOoops! Looks like I have missed this one.
DeleteI have multiplied every measurement on the drawing by 1.2. I calculated and wrote new measurements on the drawing, and it was easy to follow. But there was also new plywood consumption to be calculated before purchasing material. I believe, to optimize the consumption I used 3x12 instead of 2x18 for rudder. A little bit of creativity may be needed here.