Aug 25th, 2019
She is in!
Once again we have loaded ourselves on a trailer, meant for towing cars, and went to the lake side. Raised the mast, set sails... and in we went.

The guys had moved there marina once again, it is in the far end of the lake now, but more protected from the winds. Makes it safer to keep and easier to go out. Specially solo.
On the lake side I raised the mast; set the sail, which took quite long time as I had forgotten how I built the rigging. But we sorted it out. I also have an old scetch I made for rigging.


I had some help for getting her on and off trailer, but after that I was on my own. To push her in for the last 50m or 150ft was quite an excercise. I tied the boat to the car and backed the car a bit and pushed the boat to tension the line. all the way until the wheels touched the water. (my finger happened to be in front of the camera lens)


Then loaded all the lead in place. A sheet of rubber on the bottom, then 3 pigs on each side as first layer; then another rubber sheet, and second layer of lead pigs; and third rubber sheet.


and then...

The wind was plentiful when I raised the mast, but had died by the time I launced. I couldn't resist to do some sailing still, before getting her to the new home.


It was only next day when I lashed tha ballast down. I put halves of electric cable pipes on upper corners, for the lashing to slip on these and make tightening easier. After lashing I tightened the lashing with smaller diameter line.


I managed to do some proper sailing on day 2. Wind was a bit gusty, but strong enough. No waves though...


There was quite a bit of lee helm on one tack, so for tomorrows nearly 10kt of wind I will add some water ballast in forpeak and tighten the tack parrel a bit to move CE backwards.
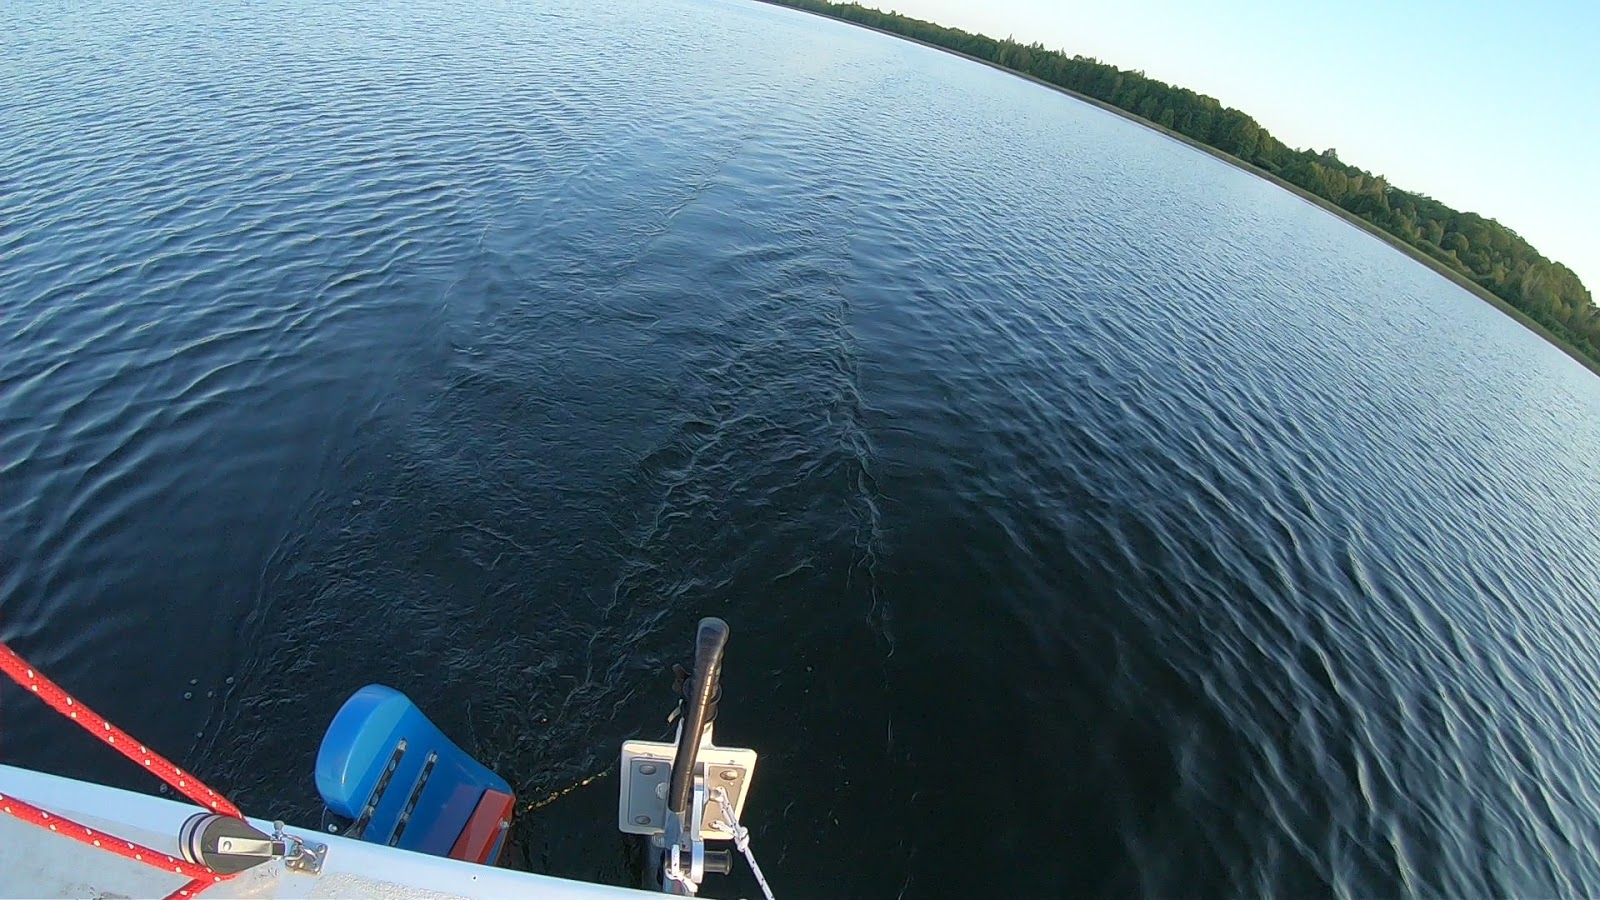
Today there was 0 to 2 knots of wind, but I was still out on the lake. Here you can see the draft. There is still 10cm or 4in of space under the boat.

Aug 17th, 2019
The ouboard wires are extended, hose pulled over the wires and the hose sealed to the motor leg with heatshrinkable tube. The sample I made was very solid, but now when bending the hose, it appears the glue of the heatshrinkable tube is not sticking to hose strong enough, it comes loose in the end. I put some silicone there and rolled it over with electrical tape, but I think I will take the tape off once again and seal it with self amalgamating tape first and then with electrical tape.


The anchor sits in its place now

To protect the plywood bulkhead, the anchor is sitting on protection, made of my favourite material lately, transparent hose.
The electric outboard speed controller is also installed, just waiting wire terminators to get the wires connected.

It can be seen next to steering line hole. A knob has to be made in the forward end.

The new block for changing cam cleats angle is also mounted.

Top part of the rudder stock is also made thinner, to the same width as where the gudgeons sit. Now I don't need to remove pintles when taking rudder off. Just a small painting job, so I didn't bother to lend compressor, just applied paint wit roller. But this polyurethane paint doesn't like to be rolled on, the whole surface was full of bubbles. To eliminate those I heated the paint after applying with gas torch. Result is excellent, nearly no difference with the rest of the paint. Newly painted area is about up from the upper gudgeon holes.

Just a few minor jobs left, plus cleaning and organizing the stuff.
Aug 16th, 2019
I have lights in the boat now. So far one in the cabin and one in aft compartment. Haven't figured out yet about switches for forward compartments. Used a trick that some other builders have used - inserted a led strip into transparent plastic hose and sealed the ends with silicone. Just had to find the correct length of the strips. Here 2 photos of the lights...


...and the aft compartment lighted up. I am very happy with these lights. I have bought other lights before and I was not happy with those (yellow light, difficult to mount). These are cheap and efficient. Aft compartment divider bulkheads are also in place. There is a cutout for the anchor on port side.

Here is what is removed from the electric outboard and engine mount (the motor, of course, will be used, as well as speed controller)

I made a new backplate for the mount/motor bracket out of GRP. The wires will be inside a hose and the hose will be attached to motor leg with heat shrinkable tube.


I try to finish over the weekend what I have planned to do before launch...
Aug 12th, 2019
The solar panel is now glued on. The hatch is also lockable.


I try to install electric outboard to the transom. I have these components to work with, but everything will be modified


Within a week I try to get on water again.
Aug 8th, 2019
A lot of time has passed, but I am back from my project in Indonesia; also finished building additional bathroom in the house, so there is time to deal with boat again.
I install the second solar panel, on cabin top, under opened hatch. In order to not to make too big hole to the cabin top, I removed the junction box from under the panel, so I just had to make a small slot...

...sealed it with epoxy (you can also see an eye for locking the hatch);...

...and glued on the panel on the next day. I will later fill the slot with silicone from below.

I change the angle of the cam cleats, to be able to both, cleat and uncleat the lines from backseat and even when sitting on aft deck. Now the cam cleats are nearly horizontal. The new piece of sapele has been shaped and dryfitted. Now I seal it with epoxy, varnish, and then glue it on with epoxy.


New updates should come more often now.
May 28th, 2019
The long winter is over, time to work on boat again. This year I have to share my time between the boat and building one more bathroom in the house, so can't go on top gear.
As per plan, I made a cutout in the hatch, and install an acrylic on top instead. As the hatch is curved, the acrylic had to be bent. I used clamps to pre-bend it, and then took it to sauna and let it stay there for about 2 hours. I had heard before that somebody had heated an acrylic sheet in sauna and then bent it to shape afterwards. I did it my way.

I overbent it a bit, expecting it straighten back after removing clamps, but it didn't, so the sauna trick works well! I could easily get it right in the hatch top with slight clamp pressure, so I didn't bother to do more bending.

I cut the hole to the hatch,

Sanded the adhesive surface, glued on rubber spacers and stops for aligning the glass.

Then applied silicone. I used Dowsil 881, which is not the most proper for this application; but should hold well... First smeared the edge of the glass, so no air bubble would show out;

Then on the hatch itself.

After curing I need to fillet the edges properly.
Another big job to do is the electrical system. I made the battery plate,

a plate for installing solar controller, switch box, fuse holder and depth finder; and started wiring.

I have 2 thick wires going straight to the back, under shelves, for electric outboard and inverter;


another set of cables from battery to solar controller; and from there to different consumers.
Great milestone was when I pumped my tires up from the boat battery!!

The depth finder transducer is planned to be installed inside. For this I milled off the plywood in the area; all the way to fiberglass. Then I laminated the hole with 5 layers of fiberglass.


The transducer fits nicely, but I will not epoxy it in before on the water, to be sure that it works on that spot.
And this bracket I need to order; made a drawing already...

It may be that I have to continue my Thailand project, now on Bali; but I hope there will be time enough this summer to do some boating as well. Not much more to complete all the modifications I planned to make.
November 11th, 2018
I am back from my project in Thailand, but as it took about half a year longer than initially planned, this year's sailing season had to be skipped :(
By now I was tricked to another project in Norway, so I had just a couple of weeks at home and couldn't finish everything I planned; however I succeeded with one of the biggest challenges I had - the lead pigs have been cast! I had some ingots before, got some more; and it was time to get these to size and shape needed.
There are some new laws now about handling lead in EU, and it seems not to be allowed to be sold to private handling any more; so I had to buy on company's name.
I have thought about an easy way of making molds, and played around with an idea of making these into earth, using soil. Another option was the mix of sand and sodium silicate. Both ways would have required making a plug, sand would have required wooden boxes as well. Looking around in the garage I spotted drywall panels, and it sounded like the easiest way. I had some hesitations as I could not find any evidents of somebody else using it before, but I wanted to experiment with it - there are molds made in plaster, so it should work. I tried to burn off the paper by gas torch, but as it didn't ignite easily, I dropped the idea.


I made these molds in very basic way, just cut out the bottom and sides and attached these together with a few drops of hot melt glue, on the outside. To the lid I made 2 holes, one for pouring and a ventilation hole.
For heating I used a trick from a fellow boatbuilder, a propane gas and torch, normally used for heating roofing material during installation.

For melting and pouring I bought a stainless steel cooking pot and made a frame with handles for it. As I had to do it at a friend's house, one of the handles was removable, to fit in the car.

The idea was to berry the molds into earth, and compress the soil around it, so the mold would resist the lead when poured in. A plastic bottle and silicone cartridge nozzle were used to make the pour and vent holes.

Smelting worked as per plan, but when pouring, it seemed that the liquid metal lifted the lid of the mold when full. Second attempt was without lid, just open top mold. Another failure... when the mold was nearly full, the sides lifted up and liquid lead escaped from mold.


Third and forth attempts were with molds with lids on, we just put bricks on ends of the molds. Everything went well, except the lead hardened too quicly in pour hole and at later checking the lead pig was concaved on top. Had I still wanted to use molds with lids, I should have made new lids, with bigger holes for pouring, perhaps with drywall extension; but as I had helping hand just for weekend, and the result with open mold was satisfactory, we went for that.
Total number of pigs was 12, about 20kg or 45lbs each, the 2 that failed were re-cast.


As I did not seal the cracks between molds and sides with plaster as initially planned, some metal went into these cracks, but these were easily trimmed with knife. Top surface was a bit rough. but the surfaces that touched the drywall panel were very smooth!


Conclusion: Drywall panel is feasible material for molds for casting lead. Quickest and easiest way for it. I believe it could also be used with lid, but then a bigger hole, maybe in the center would be needed.
Other than that I started gluing on the solar panels, have got a piece of acrylic for a hole to be made on top of the hatch; got battery and have made some plan of making electrical system.
05.01.2018
Day by day, new sailing season is coming closer, so it would be good to list up and make plans of the what and how...
There is no electrical system installed yet; except the masthead light. I have thought a lot about location for the cabin top solar panel; and decided that has to go forward from the hatch and not on the hatchtop as initially planned. I will cut a window in the hatch and cover with acrylic, to see the sail when hatch is closed. Then the open hatch will still let light to go on the panel. Another panel will be on the deck, forward of the mast.
Lead ballast. The lead is not yet cast to the suitable in size pigs. I just loaded about 100kg loosely in the lead compartment for tests; and had another 140 kg of water ballast on board. 240 in total feeled like about as much as needed, but I never sailed alone. I plan to cast led pigs of about 220kg; and the rest will be water as needed. I don't have built in water tanks, it will be just water canisters.
We have 5 camcleats in total, because of the junk sail. Most Paradoxes have 2 or 3. Therefore these are in 2 levels. Lower level is closer to horizontal, but uper level is tilted way downwards, as per building plans. I cannot cleat my lines when sitting on helmsman seat or on the floor in the aft end of the cabin. So one of the jobs will be to change that angle closer to horizontal.


A wooden strip (veneer, plywood?) around the perimeter inside, on deck level
As the mast is moved forward of bulkhead 2, but the lines still enter the boat inside the ventilation chamber aft to bulkhead 2; the lines from mast will be on the way of the lower part of the sail in SB tack, downwind. I have made a deflector with 3 shieves, to be fastened to mast. I will test and most probably install it.
Rudder stock is laminated from 3 layers of 12mm plywood, with the total thickness including glass and paint nearly 40mm. As the rudder gudgeons were for lesser thickness, I recessed the rudder stock in that area. But to remove rudder I now have to remove both gudgeons and one pintle; So I will make the top part above the gudgeons also slimmer so only gudgeons have to be removed.

Hi,
ReplyDeleteI read where you made your Paradox 20% larger. I was wondering if you could give me all of her dimensions? Did you make the beam wider as well or just a longer boat? Thanks, she is beautiful!
Thanks Jeremy,
DeleteI multiplied just all measurements with 1.2, so yes, it is also wider and higher. LOA turned out about 5.05m and width about 1.5m :)